|
You are here : Administrator Tools > Admin Masters > Planner Master - Entry Planner Master - Entry
|
Planners are basically those people who plan and schedule Sales Job Orders and ensure their smooth execution.
Add and maintain Planners who are responsible for a particular plan through this Master. Planners are specified while creating Sales Job Orders.
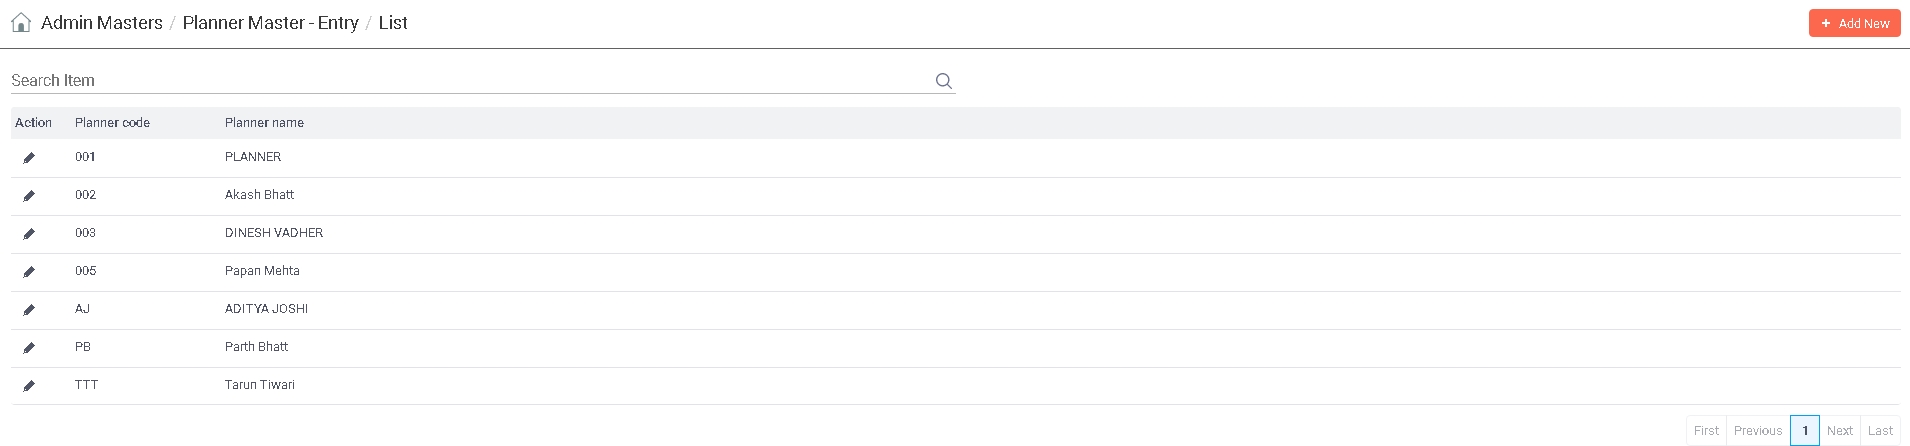
Enter any text you want to search in the list below. The search is applicable to all columns of the list. Once the text is entered, press <ENTER> key. As a result, the list will be refreshed with all those records that contain the entered text fully or partially. In order to go back to the original list, remove the text from the box and press <ENTER> key again.
 Planners can be added, edited, and viewed provided the Role associated with the currently logged-in user through User Management has the respective rights to do so.
To 'Add' a Planner, click on the  button and to 'Edit', click on the
  icon on its corresponding record. To 'View' details of a particular Planner, <DoubleClick> on that record. As a result, following screen will be displayed -

Once defined, a Planner can not be 'Deleted'.
(Type : Alphanumeric, Length : 20)
Denotes the Code of the Planner.
While 'Adding' a new Planner, enter the unique Code for the Planner. This is the Code by which a Planner will be referred throughout IMMS. The system will ensure that entered Code is a unique one.
In case of 'Edit' and 'View' modes, Planner Code will be displayed automatically for the selected record. It can not be chagned.
(Type : Alphanumeric, Length : 40)
Denotes the Name of the Planner.
While 'Adding' a new Planner, enter the Name of the Planner.
In case of 'Edit' and 'View' modes, Planner Name is displayed automatically for the selected Buyer Code. You can change it in 'Edit' mode.
Once you have entered all the information, click on 'Save' button to save or 'Cancel' button to discard. The control will go back to the list.